How to Photograph Snowflakes — Nature’s Fleeting Work of Art
Enjoy snowflakes with fresh eyes through macro photography

You don’t need vast landscapes or wilderness to appreciate the beauty of winter. You can explore its frozen magic on a microscopic scale through snowflake photography (Read: "Winter Magic, Magnified"). Better yet, it will quite literally fall right at your feet, a perfectly-packaged dose of miraculously-miniature architecture in the form of a snowflake. Every year, one septillion — that’s 24 zeroes — perfect little packages of frozen joy are delivered to the world in the form of snowflakes.
The best news is that when it comes to snowflakes, nature doesn’t discriminate between untouched wilderness and bustling cities. From the highest peaks of the Wasatch Mountains to the sidewalks of Salt Lake City, spectacular frozen works of art drop from the sky anywhere it snows. Snowflake photography offers all the elements of a great adventure, whether you are exploring winter many miles from the nearest trailhead or just steps outside your front door. (Read: “Plan Your Trip: Resorts Near Salt Lake City”)
Start with research and planning (check that forecast, then check it again), add a little anticipation (is that a snowflake I just saw?), throw in the thrill of the chase (hurry, HURRY, shoot a photo before...), a dash of frustration (it melts), and the pure magic of the moment when it all comes together. That’s when you capture a photo of a one-of-a-kind, fleeting work of art (how on earth did nature make that?). (Read: “Why Does Utah Have the Greatest Snow?”)
Best of all, snowflake photography is whatever you want it to be.
Looking for a meditative exercise in impermanence and non-attachment? Go chase some flakes and you might just catch a dose of inner peace. More in the mood for a gleeful treasure hunt full of childlike joy and amazement? Step outside and crawl around in the snow with a camera in tow for a while. You’ll come back with a renewed sense of wonderment and a whole new appreciation of the natural world. Or at the very least, some beautiful photos.
"From the highest peaks of the Wasatch Mountains to the sidewalks of Salt Lake City, spectacular frozen works of art drop from the sky anywhere it snows."
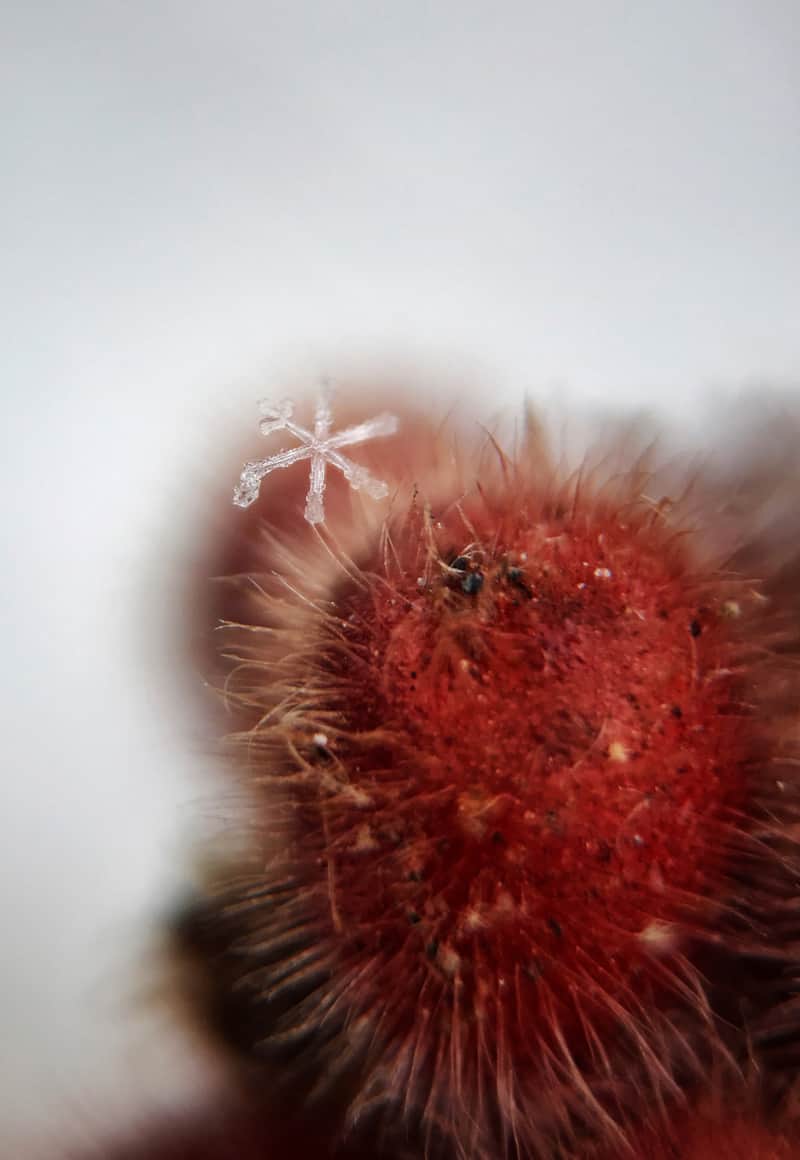
A snowflake on a plant at the Red Butte Garden in Salt Lake City.
Mobile Macro: Convenient Snowflake Close-Ups With a Camera Phone
If you’re curious to get a close-up look at winter’s frozen mini-masterpieces with minimal financial investment, use the camera you already have in your pocket. Contemporary phones take incredible photos, and with the addition of an inexpensive macro lens that fits your specific mobile device, you can gain the magnification you’ll need. What phones lack in built-in lens options, they make up for with convenience. The old adage says that the best camera is the one you have on you — and chances are high your phone will be within reach when the flakes start falling.
You’ll quickly learn the portion of the photo that’s in focus (the “depth of field”) is very shallow when using phone lenses, so getting an entire snowflake in focus might be challenging. You can work around this limitation by using the razor-thin focus to draw attention to the most spectacular portion of a particular snowflake, or to highlight a tiny snowflake within a larger scene.
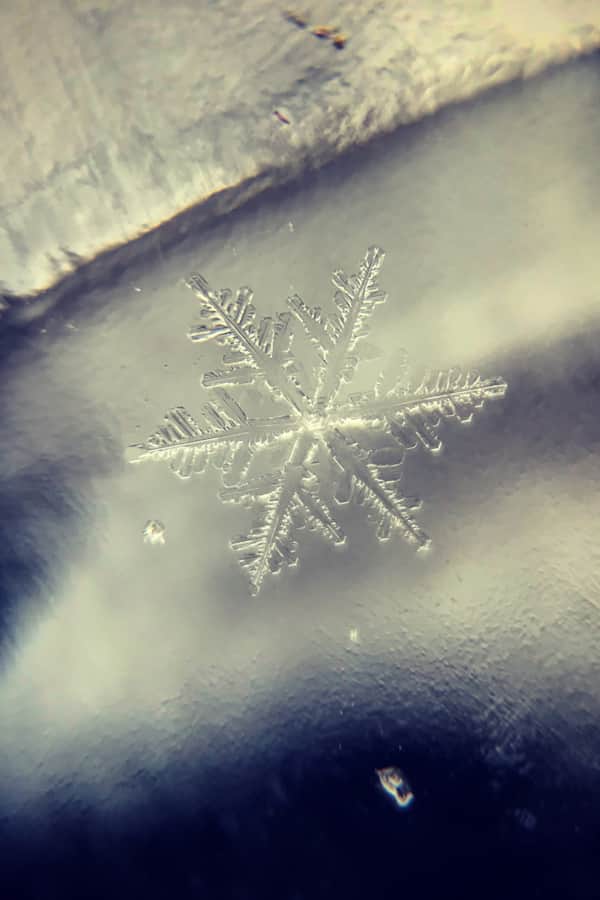
Snowflake on cold glass captured with a mobile phone – an example of using a flat surface to maximize the sharpness.
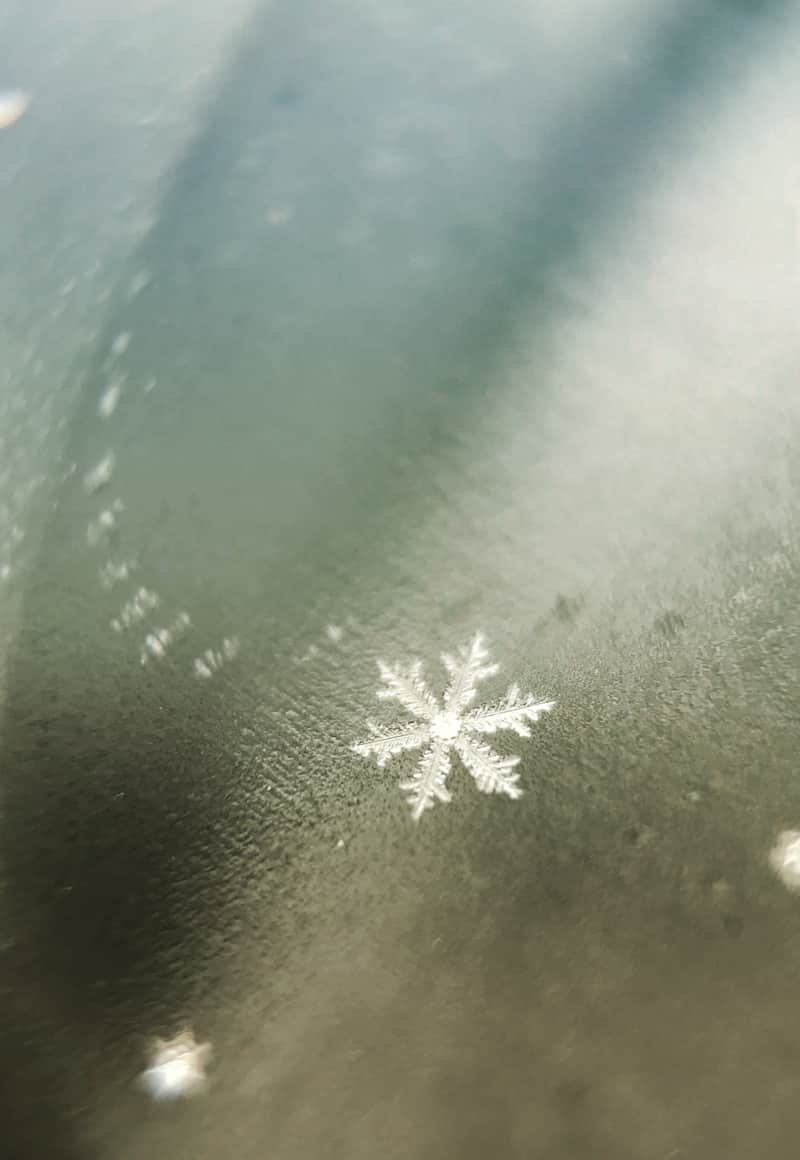
Snowflakes on a glass jar captured with a mobile phone – an example of using the shallow depth of field to draw attention to one of the four snowflakes in the scene.
If you aren’t satisfied with that look and want to maximize the sharpness of your snowflake shots, find flakes that have landed on a flat surface — like a cold piece of glass, metal or a frozen pond or puddle. Then once you have located a snowflake, position your phone camera parallel to the flake, hold steady, and shoot.
Using two hands to hold the phone, steadying your hands on something, and shooting in burst mode (if available) are all tips that might help capture the sharpest photo possible. Once you have captured the photos you want, you can make your snowflakes really pop by editing your shots with a mobile editing app such as Snapseed.

Elevate Control: Take Your Snowflake Photos to the Next Level
To take your snowflake photography further, a DSLR or mirrorless camera are both great tools. The added control of settings, higher resolution files and extensive lens options will help elevate your snowflake photo game.
A huge advantage that DSLR and mirrorless cameras have over phone cameras is the ability to easily control settings to adjust the shutter speed, f-stop (aperture) and ISO. By tinkering with these settings, you can work to eliminate blur in an image that might be caused by camera shake. These tools can also help you gain more artistic control over the depth of field of your image to create ambiance and evoke feeling by blurring or sharpening the background.
Shooting with a DSLR or mirrorless camera gives you added control of settings, higher resolution files and extensive lens options.
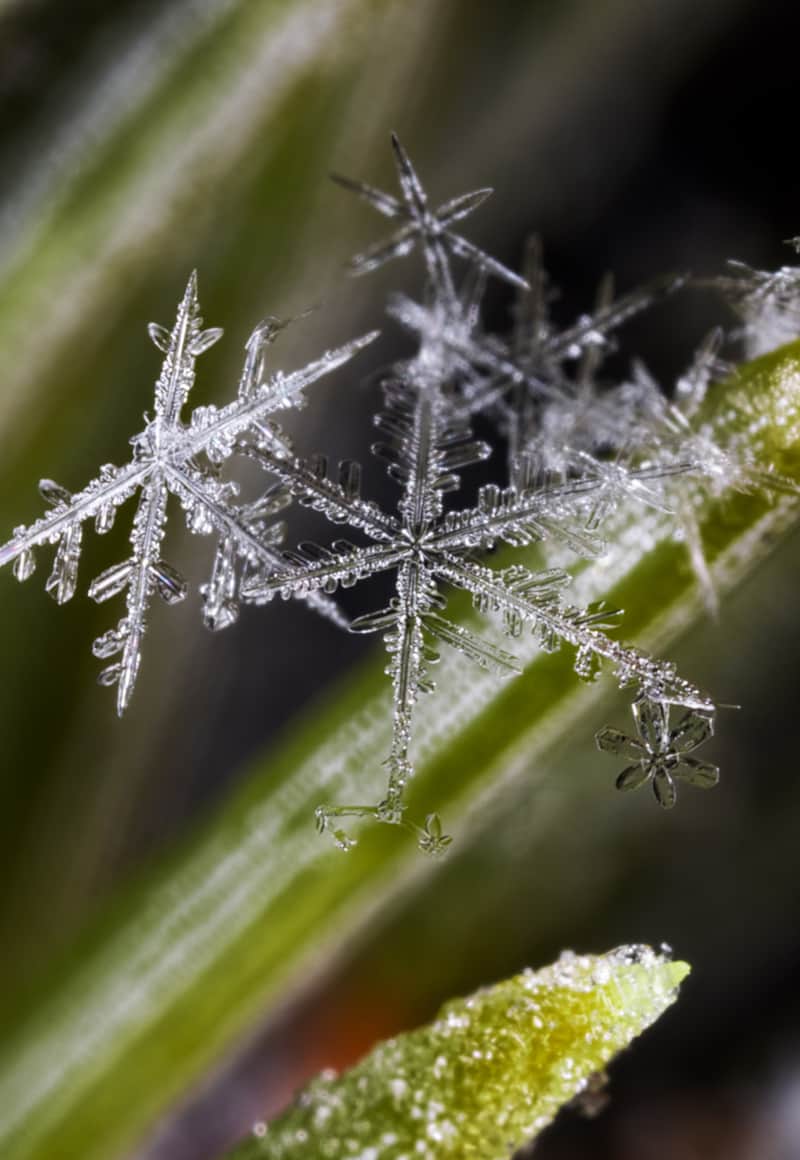
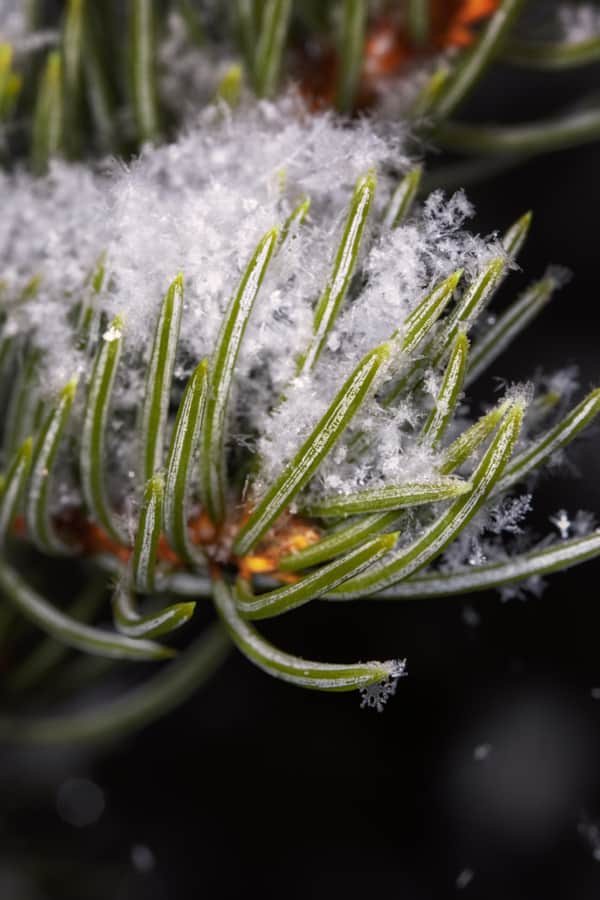
Snowflakes on a pine needle in Big Cottonwood Canyon, photographed using a specialized macro lens (Canon MP-E 65mm 1-5x Macro Lens) and flash.
Another important advantage that these cameras offer is the variety of lens options. Because snowflakes are small (really, really small), having a macro lens will give you a better view of the intricate details. A true macro lens offers a 1:1 magnification ratio, meaning that the size of the snowflake in real life is the same as the size of the image projected onto your camera’s sensor.
In simple terms, a macro lens lets you get a close-up view of the flake and all its detailed beauty. If you don’t want to invest in a new lens, you can spend far less money to buy a reversing ring — a nifty little accessory that allows you to use a normal lens you already own as a magnification device. Another affordable option is an extension tube that works by moving a normal lens further away from the camera’s sensor, thus making the snowflakes appear larger in photos.
You can expand your quiver of tools with some items you likely already have at home: some wool, glass and a colorful piece of cloth. Wool — in the form of a sweater, hat, sock or mitten — is a great medium for catching and photographing snowflakes. Not only do fuzzy wool fibers catch flakes and keep them elevated for easy viewing, the wool also acts as an insulator to keep the snowflake from melting immediately.

Snowflake on the fibers of a wool sock shot with a DSLR camera.
Glass offers another great shooting surface. A piece from a picture frame or an angular drinking glass will do the trick, if you cool it in the freezer or leave it outside overnight. Letting snowflakes fall on the cold glass will allow you to maximize the shallow depth of field by shooting with your lens parallel to the glass (and thus the snowflake). For an added element of color, place a cloth or paper behind the glass to create an interesting background.
As the magnification increases, you’ll notice that your image gets very dark, very quickly. This lack of light can be counteracted by the addition of a flash, and one inexpensive option that works for snowflake photography is a ring flash. This piece of equipment will illuminate the scene, and it will also allow you to increase your shutter speed (to a point) to more easily mitigate blur from camera shake or movement of the snowflake.
Potential bonus tip: When it isn’t snowing, put your macro gear to use on other frozen microscopic beauty, such as ice crystals and hoar frost that forms on plants when the humidity is high and the temperature is low.

A snowflake on hat fibers – an example of a final image that resulted from focus stacking.

A melting snowflake cluster on the edge of a leaf – an example of using hand-held shooting to quickly capture snowflakes before they melt.
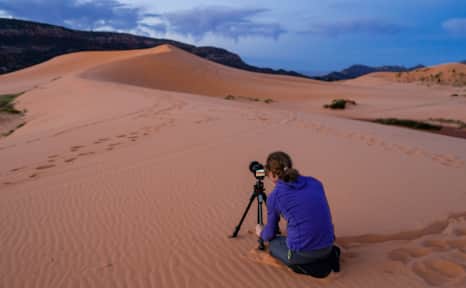
Author Angie Payne exudes patience while on a shoot in Coral Pink Sand Dunes State Park in Southern Utah.
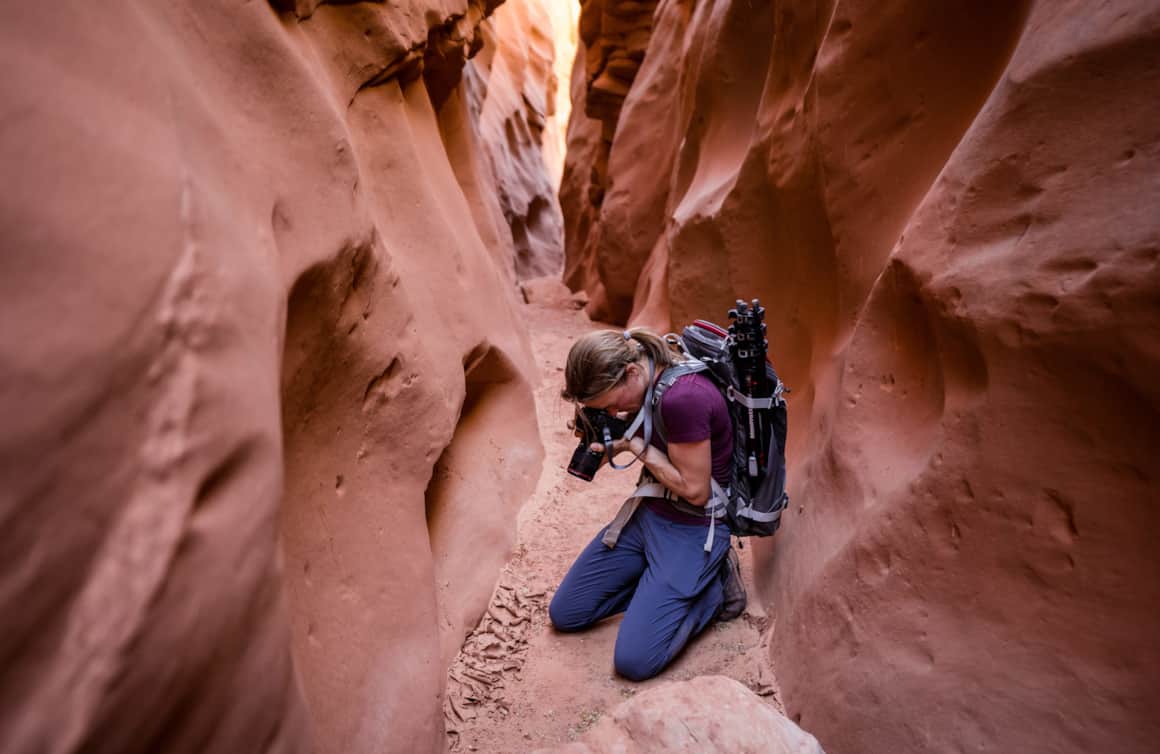
Author Angie Payne ditches the tripod in favor of freedom and quickness of movement while on a shoot in Moonshine Wash slot canyon.

Winter Activities
-

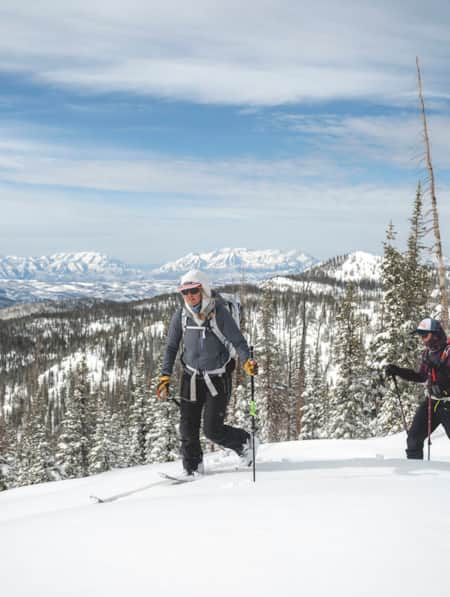
Backcountry Skiing & Snowboarding
Thousands of people each day enjoy Utah's famous backcountry — the areas outside of ski area boundaries.
-
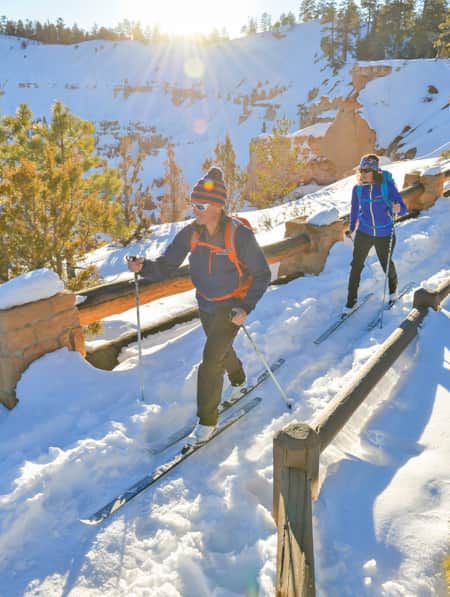
Cross Country Skiing
Cross-country skiing Utah is awesome! Find popular Nordic trailheads in the north, high altitude serenity in central Utah and miles of regularly groomed trails in the south.
-
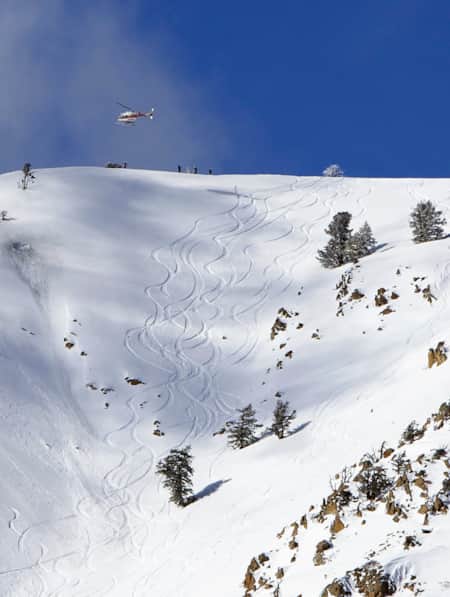
Heli Ski & Snowboarding
Utah heli skiing and snowboarding are perfect for those who want to ride some of the best backcountry in the world. Find your next ride here.
-
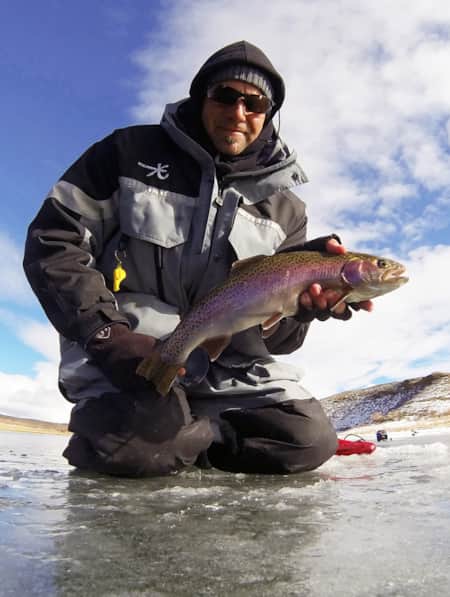
Ice Fishing
Utah’s award-winning waters hold some of the best ice fishing in the country, and with so many large lakes and reservoirs, it’s easy to grab your gear and join in.
-
Ice Skating
Find the best ice skating rinks in Utah and plan the perfect skate night with your friends and family. Lace up and get skating!
-
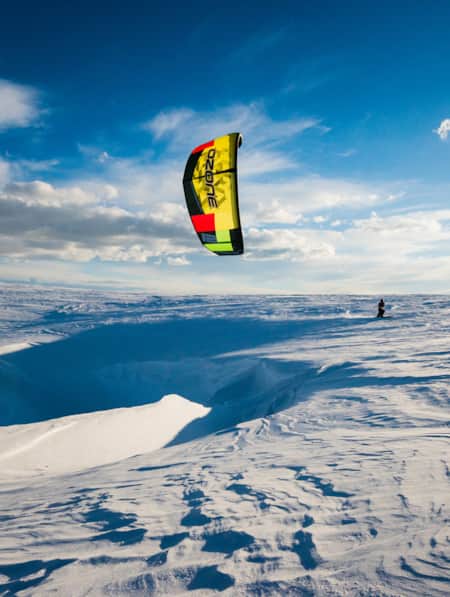
Kite Skiing
Kite skiing (snow kiting) is attracting freestyle adventure seekers to Utah. Learn about the cool places to kite ski in Utah, grab your equipment and go!
-
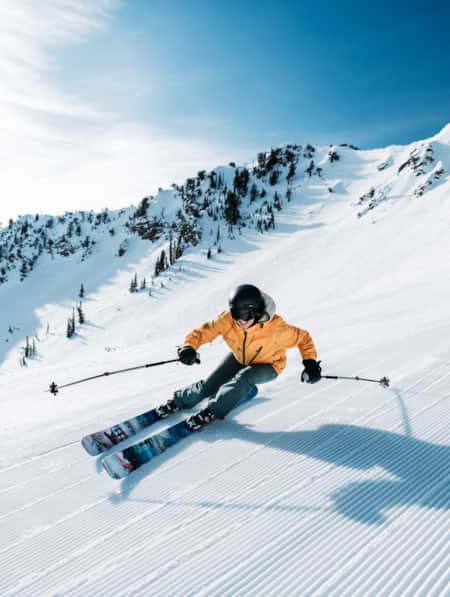
Skiing
Skiing in Utah? Choose from 15 resorts — 10 within an hour of the airport. Discover lively ski towns, best times to visit and tips for booking lessons and rentals.
-
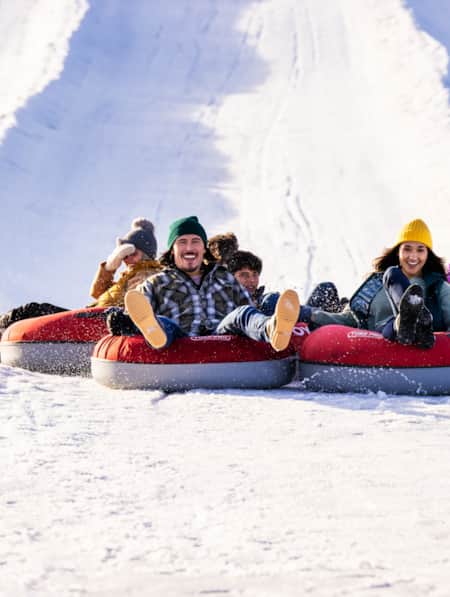
Snow Tubing & Sledding
The classic, winter tradition of finding the perfect hill from which to launch a tube or sled is alive and well in Utah. Whether you’re looking for commercial parks with structured lanes or a local hill and your own thermos of hot cocoa, we’ve got it all.
-
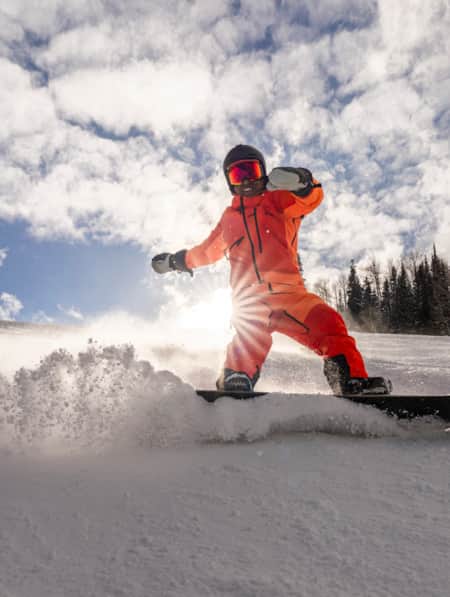
Snowboarding
To put it simply, the riding in Utah is epic. Thirteen snowboarding resorts are scattered along the state's mountain ranges that are perfectly positioned for dumps of fluffy powder all winter long, most of which see an average of 500 inches of snow each year. Best of all, there are eight world-class, snowboard-friendly resorts within an hour’s drive of Salt Lake City, so you can easily ride new terrain every day of a week-long vacation.
-
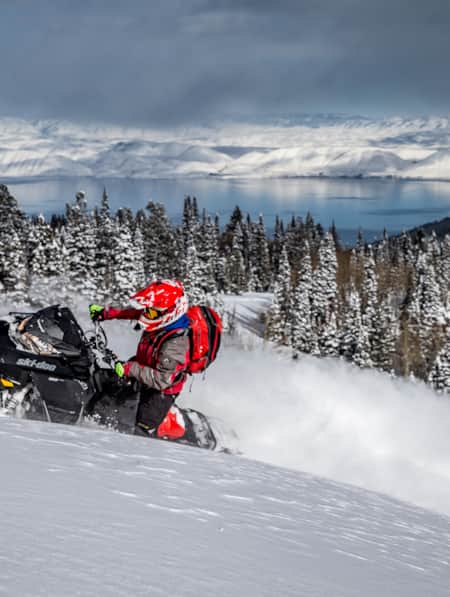
Snowmobiling
Snowmobile vacations are popular outdoor adventures. Utah’s 800+ miles of groomed trails offer winter snowmobiling fun for all — find out more!
-
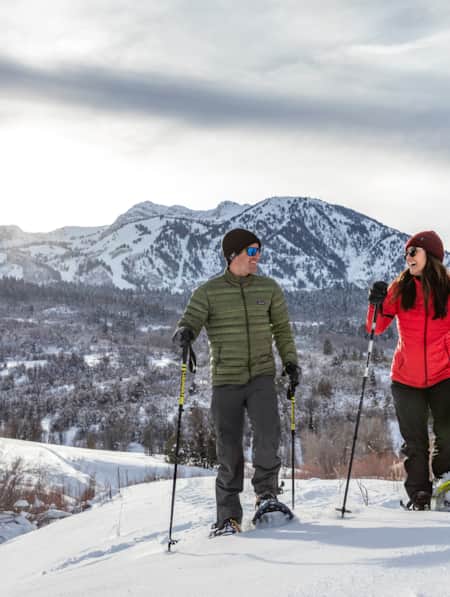
Snowshoeing
There’s a sense of excitement that comes with breaking trail across an untouched stretch of Utah’s famous powdery snow.