How to Bikepack: Pro Tips for Planning a Multi-day Backcountry Ride
How to pack and prepare for a multi-day backcountry adventure by mountain bike

“How are we going to fit all this stuff in these bags?”
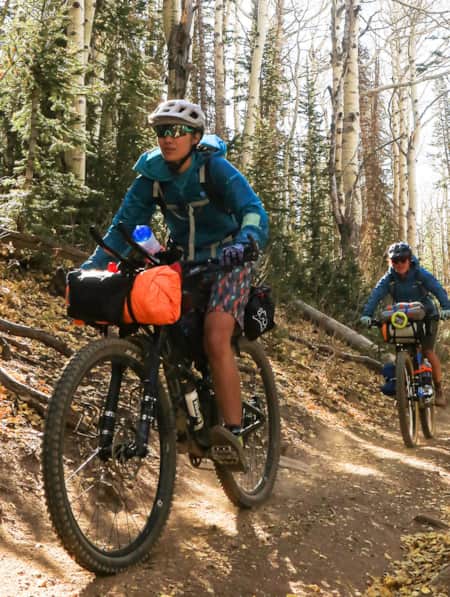
Eric Porter and I stood on the lawn of Brian Head Resort scratching our heads, staring down at our mountain bikes, a few small bags and a giant pile of gear and food. We had to pack enough warm clothing, a tent, stove, sleeping bags, a water filter and four days worth of food into a backpack and two Revelate Designs bike bags. Clearly, my Tetris skills would be coming into play.
"Bikepacking is a process of trial and error; the only way to learn the optimal setup is by first going on an overnight local adventure to figure out what's needed and what's not. There’s a lot of learning involved in this sport, and every cyclist is different."
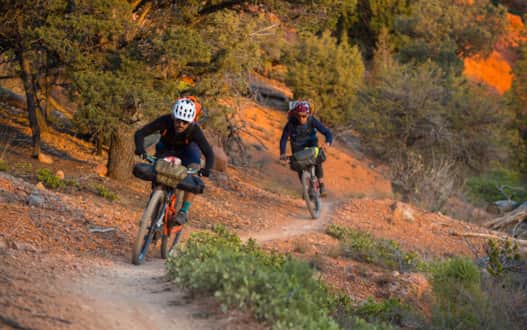
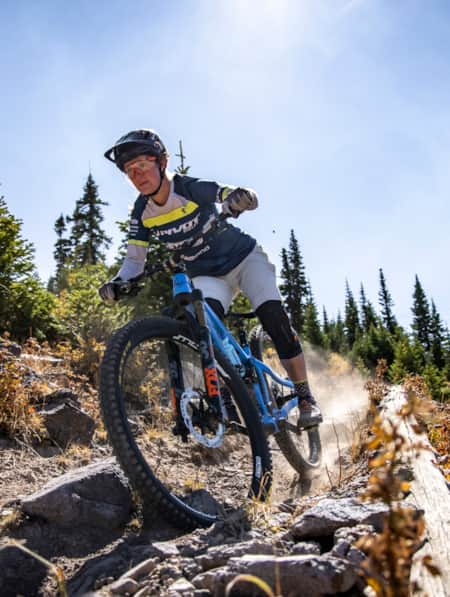
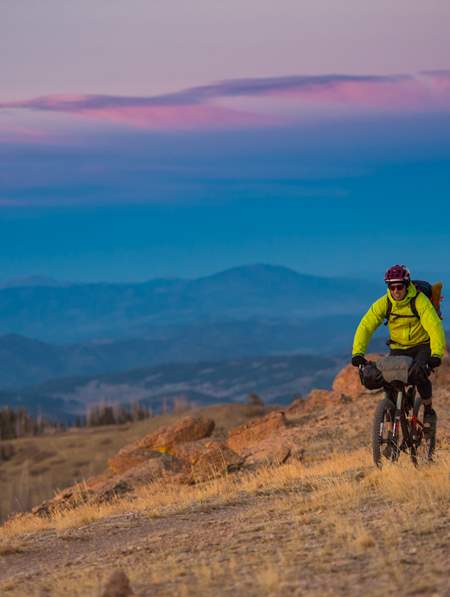
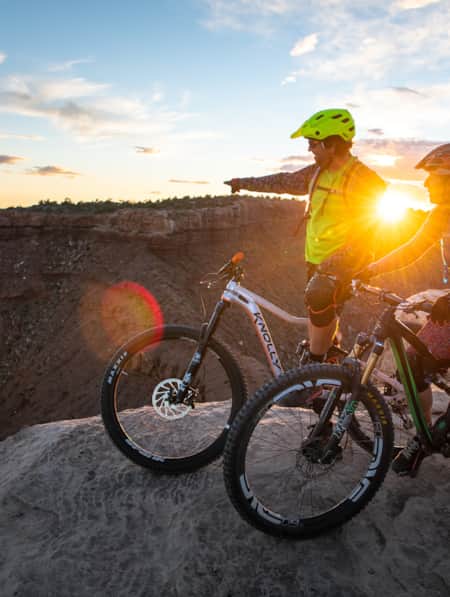
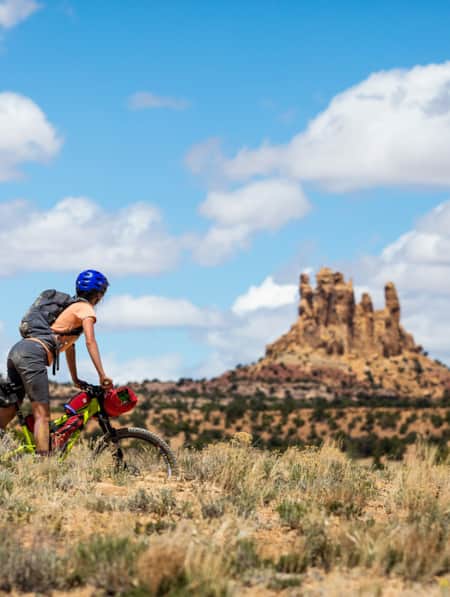
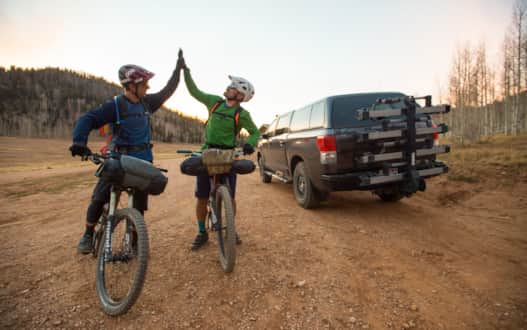
Lighter means faster.
Photo: Scott Markewitz
Innovations in lightweight camping gear and capable mountain bikes make multi-day bikepacking adventures more realistic than ever, but you still need to know how to pack for your tours. The ideal bikepacking gear list is a process of trial and error; the only way to learn the optimal setup is by first going on an overnight local adventure to figure out what's needed and what's not.
One of the biggest challenges in preparing for a multi-day bike adventure is knowing how much food to bring. If the adventure takes you bicycling through more populated areas, less food is required as you can buy meals along the way, but for deep backcountry self-supported outings, every meal and snack needs to be planned in advance. Since you'll be active, calorie counting is important, so ensure that you're taking in as many calories as you're burning. And remember, the load gets lighter as you go, so don't be afraid to pack more food than you you think you’ll need for your bikepacking tours.
Food
Look for food that's calorie dense, flat and has minimal packaging. Tortillas, jerky, trail mix, oatmeal, cheese and tuna packets all worked well for us. For dinner, dehydrated meals are light, compact, calorie dense and are easily prepared with just hot water. Good to Go meals are highly recommended; they were quite tasty with good quality ingredients. But do your own research on what might work best for you.
"Calorie counting is important, so ensure that you're taking in as many calories as you're burning. And remember, the load gets lighter as you go, so don't be afraid to pack more food than you think you'll need."
Maximum calories, minimal weight.
Photo: Scott Markewitz
Clothing
Clothing-wise, you need less than you think, especially if the weather forecast doesn't call for rain. If it does, consider waiting until the weather looks more favorable. Bikepacking is challenging enough even when the weather is good; don't make it harder on yourself than necessary.
For our four-day adventure, I ended up bringing a long sleeve and short sleeve riding jersey, one pair of riding shorts, two shammy liners, two pairs of gloves and socks and a lightweight rain jacket. Bring mountain bike shoes you can comfortably wear all day. For camp clothing, I brought wool long johns and a midweight top, a warm hoodie down jacket, a thick pair of socks and a very lightweight pair of sneakers. We camped in temperatures as cold as the mid-20s, and although it was a bit chilly in the mornings, I didn't feel underpacked. Biking in the winter? See more cold-weather gear tips.
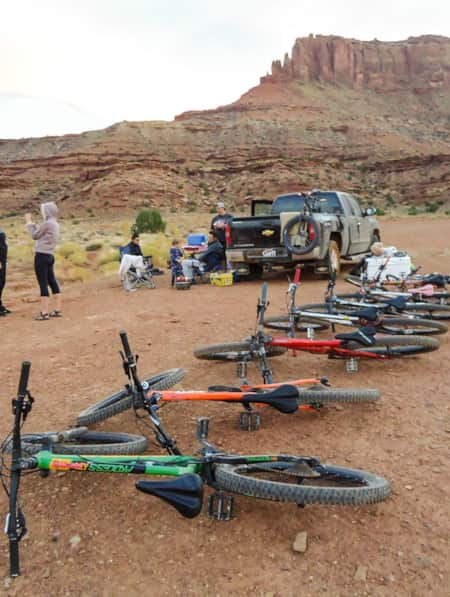
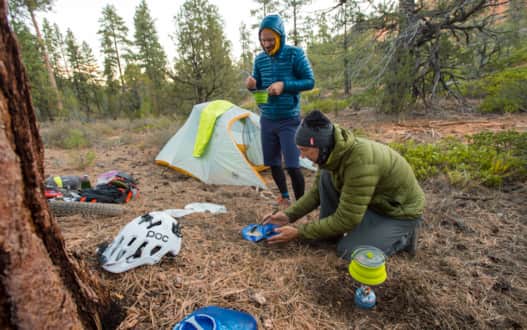
Camp
Camp gear consisted of a lightweight, three-pound Big Agnes three-person tent that we shared, a lightweight full-length Big Agnes air mattress that compressed down to the size of a Foster's beer can, a down sleeping bag, a gas-powered stove, collapsible, accordion-style bowls and a genius Platypus GravityWorks gravity-fed water filter using two packable plastic reservoirs and a tiny inline filter, no pumping needed.
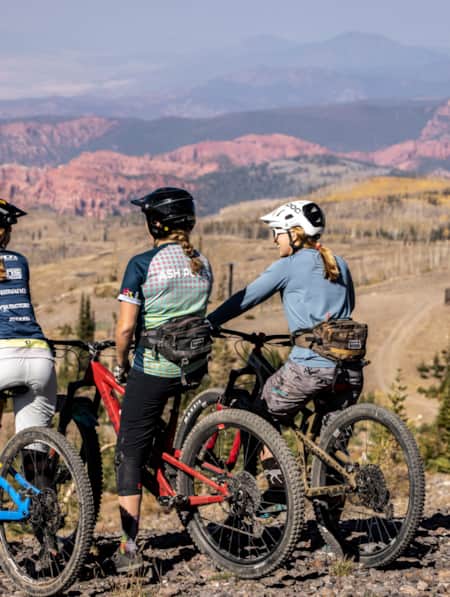
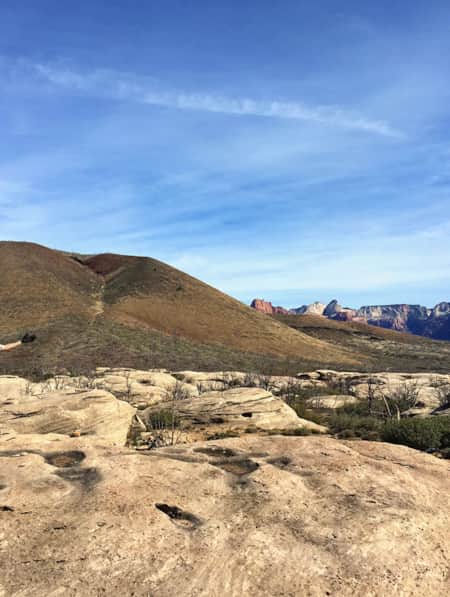
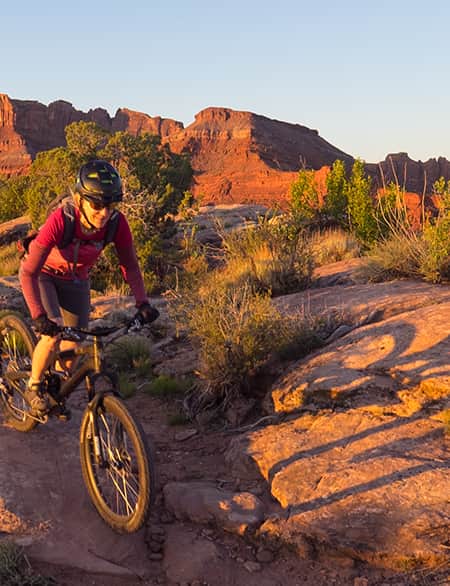
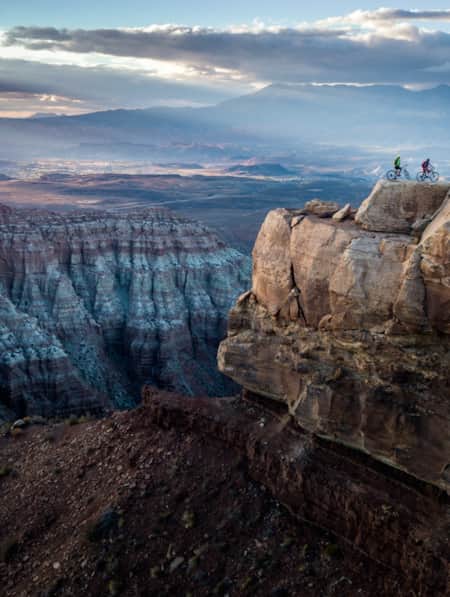
The bittersweet end to a successful trip.
Photo: Scott Markewitz
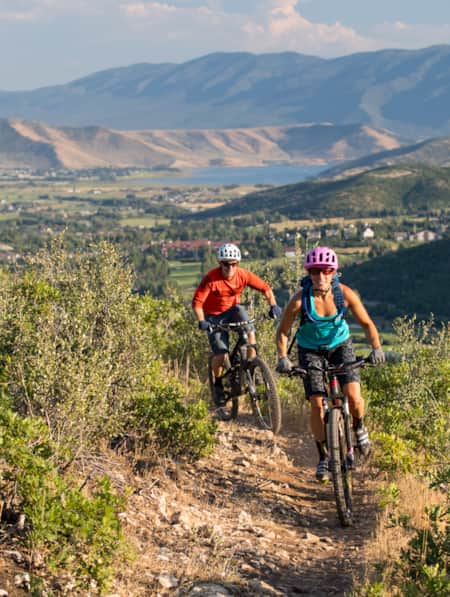
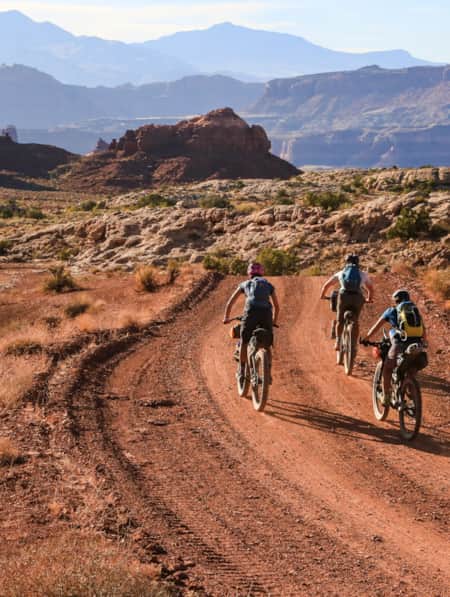
Route and Ride
Logistically, pick a route that is realistic for everyone in the group, and make sure that the group communicates and gets along well with one another (Read: "Three Utah Bikepacking Routes for Beginners to Intermediates"). Gather as much information as you can before making route choices and focus on making good group decisions and getting consensus on those decisions. Each evening at camp, it's good to debrief on the day, talking about what the group did well and where the group could improve. Nobody wants to get hurt or lost in the backcountry.
Make sure everyone's bikes are in top mechanical condition— a simple mishap can turn a great trip into a disaster. It’s preferable to have everyone riding new tires and fresh brake pads, and make sure someone carries all the necessary tools as well as a small first aid kit. A Leatherman, duct tape, zip ties, extra chain links, chain lube, tire boots, tire plugs, shock pump and of course extra inner tubes are all must-haves. And be sure at least one person in your group has a little education when it comes to bike repair — learning how to fix a bike on the trail while daylight fades is no fun.
If there's any room leftover, bring along a flask of your favorite adult beverage. Your riding mates will love you for it when sitting around the campfire!

Discover More
-

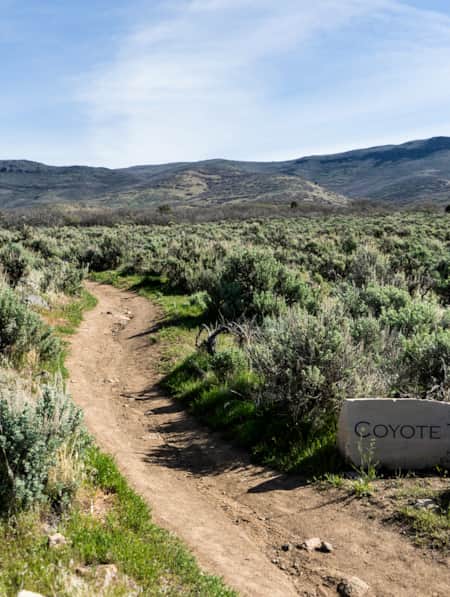
The Coyote Canyon Loop
An easy 20-minute trip south from Park City, the Coyote Canyon Trail is a gorgeous 20-mile loop that undulates through the sprawling expanses of Heber Valley and showcases some of its best features along the way.
-
A High Elevation Southern Utah Mountain Bike Adventure
Mountain biking in Southern Utah usually inspires visions of red rock destinations such as Moab and St. George. But as the heat of summer kicks in and the triple digit temps become more frequent, heading south to ride may seem out of reach. Fear not my friend, as there are some riding destinations within Southern Utah, where the elevation will keep you cool.
-
Top 5 Rules of the Ride: How to Mountain Bike Responsibly on Utah Trails
Mountain biking is one of Utah’s most popular activities enjoyed by riders of all ages and skill levels. Be able to fly down that flow trail by, first, understanding and respecting the rules of the ride.
-
Seven Must-Ride Mountain Biking Trails in Utah
To help you plan a Utah mountain biking trip, we've assembled a list of seven of Utah’s best mountain biking trails followed by a roundup of Utah’s best fat-tire destinations.
-
Ridin' Greater Zion
Southeastern Utah might be the state’s hidden gem of mountain biking. Learn about the top mountain biking trails in this area and plan a getaway you’ll never forget.
-
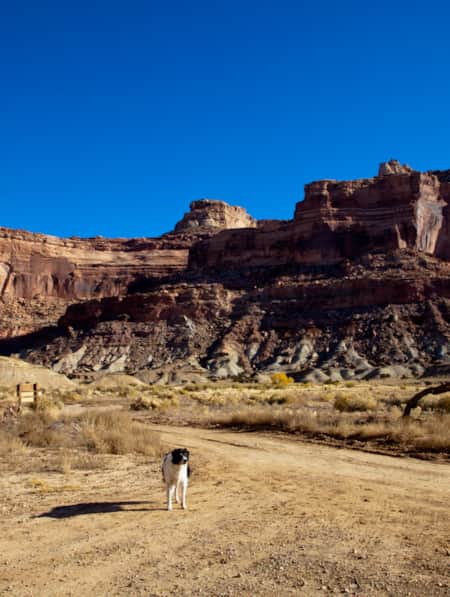
Dog-Friendly Utah: The Road to Mighty
Want to bring your furry friend on your next vacation? Utah is home to several great dog-friendly national parks and other fun destinations. Check it out and plan your trip!
-
Knobby Tired Nomads: Bikepacking the Utah High Country
If you’re into bikepacking, Utah is a place you’ll want to check out. Read about a self-supported tour of Utah’s backcountry here, and start planning your trip.
-
Mountain Biking the Wood Hill Trail System
Luke’s Loop is one of several options in the Wood Hill trail system in central Utah, a favorite for locals and those just passing through.
-
Mission to Mars: Riding Gooseberry Mesa
You haven’t truly ridden a mountain bike until you’ve visited the stunning slickrock of Gooseberry Mesa. Learn more about this spectacular Utah trail.
-
Moab's Singletrack Renaissance
Moab isn’t just for burly Slickrock riders anymore. In the last few years, local groups have established dozens of miles of new mountain bike trails.
-
A Quick and Dirty Guide to Brian Head Area Mountain Biking
Whether you’re visiting the area for Brian Head’s seemingly endless bike options or making it part of a multi-stop Southern Utah adventure (Cedar Breaks National Monument is just five miles away), it’s a must-see for bikers of all abilities. Here’s what you need to know to get started.
-
A Family Bike Tour of Salt Lake’s East Canyon
East Canyon has always been a path for travelers, from the Donner Party to Brigham Young to the Pony Express. In this modern-day tale of travel, a family of three takes on East Canyon by bicycle for a weekend camping trip. They discover historical markers, swimming spots, and lots of ice cream.
-
6 Steps to a Family MTB Trip on Canyonlands' White Rim
Want to take the family mountain biking on the White Rim Trail? Tackle 100 miles of biking and three days of backcountry camping in Canyonlands with the kids.
-
Wild Heber: Close-to-Home Adventure
Just 45 minutes from Salt Lake City, Heber Valley’s state parks and national forest lands offer a world of adventure. Hike, bike, camp, kayak, watch wildlife and reel in blue-ribbon trout while learning about nature and how to protect it.
-
A Local’s Guide to Logan: Northern Utah’s Outdoor Adventure College Town
Logan is teeming with some of the best arts, food and outdoor adventure opportunities in the state. Whether you’re passing through or just looking for new places to explore, here are some of the best ways to experience Logan.
-
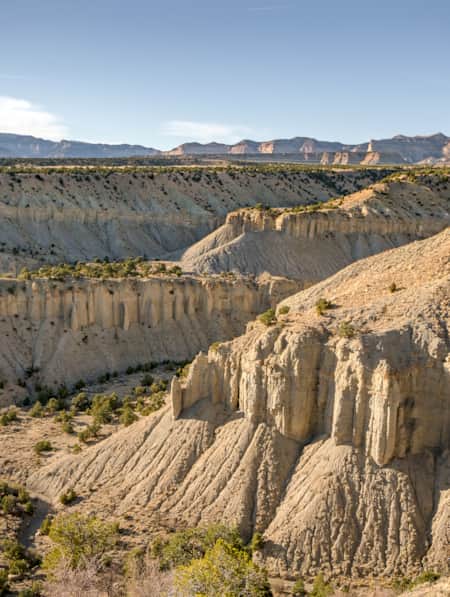
Bikepacking Across the Aquarius Plateau
A 5-night bikepacking trail has opened up a beautiful swath of the Southern Utah landscape. Following trails from Brian Head to Boulder, riders can experience long days in the saddle, and then recuperate in backcountry huts stocked with creature comforts.
-
3 Utah Bikepacking Routes for Beginners to Intermediates
Find a route for your next Utah bikepacking trip that promises immersion in history, culture and ridiculous scenic beauty.
-
Visions of Grandeur: Heaven and Hell on Two Wheels
The story of a women’s bikepacking trip unspoils 250 miles of the majesty of Bear Ears country, including three national monuments, one national recreation area and a national park.
-
How To Bikepack Utah Like a Girl Boss
Here are the key things you need to know as you start planning your first bikepacking trip.
-
Bikepacking through Time in the San Rafael Swell
We're miles away from civilization here in southeastern Utah’s San Rafael Swell, and we carry everything we need on our bikes. This is the type of adventure I've longed for, a trip that reminds us of our self-worth, resilience, and how little we actually need to survive.
-
The Complete Winter Camping Packing List for Staying Warm in Southern Utah
For most travelers, Southern Utah winters prevent comfortable camping, and occasional snowfall can make outdoor adventure a little more challenging. With a little extra planning, good layers, and the right equipment, however, you can enjoy Utah's national parks in the solitude of winter.
-
A Guided Ride on the Rolling Slickrock of Gooseberry Mesa
Utah resident and tour guide Katharina Merchant shares her "backyard" mountain biking
-
Find a Winter Refresh in a Utah State Park
The best Utah state parks will entice you with ice fishing, white sand and snow-dusted scenery. Take a winter break to refresh with a visit to a few of these places.
-
Utah's Outdoors Are Wide Open for All Abilities
Utah’s National Ability Center is known for changing lives through its adaptive recreation programs. Truth is, just setting foot on the center’s 26-acre ranch can feel transformative.
-
Spreading the Joy of Adaptive Recreation
Meet three National Ability Center staffers who live outdoor adventuring.